How to photograph the Northern Lights
Seeing the Northern Lights is many people’s dream, but how do you capture them in a photograph? We have prepared some tips whether you are shooting with a digital camera or just a mobile phone.

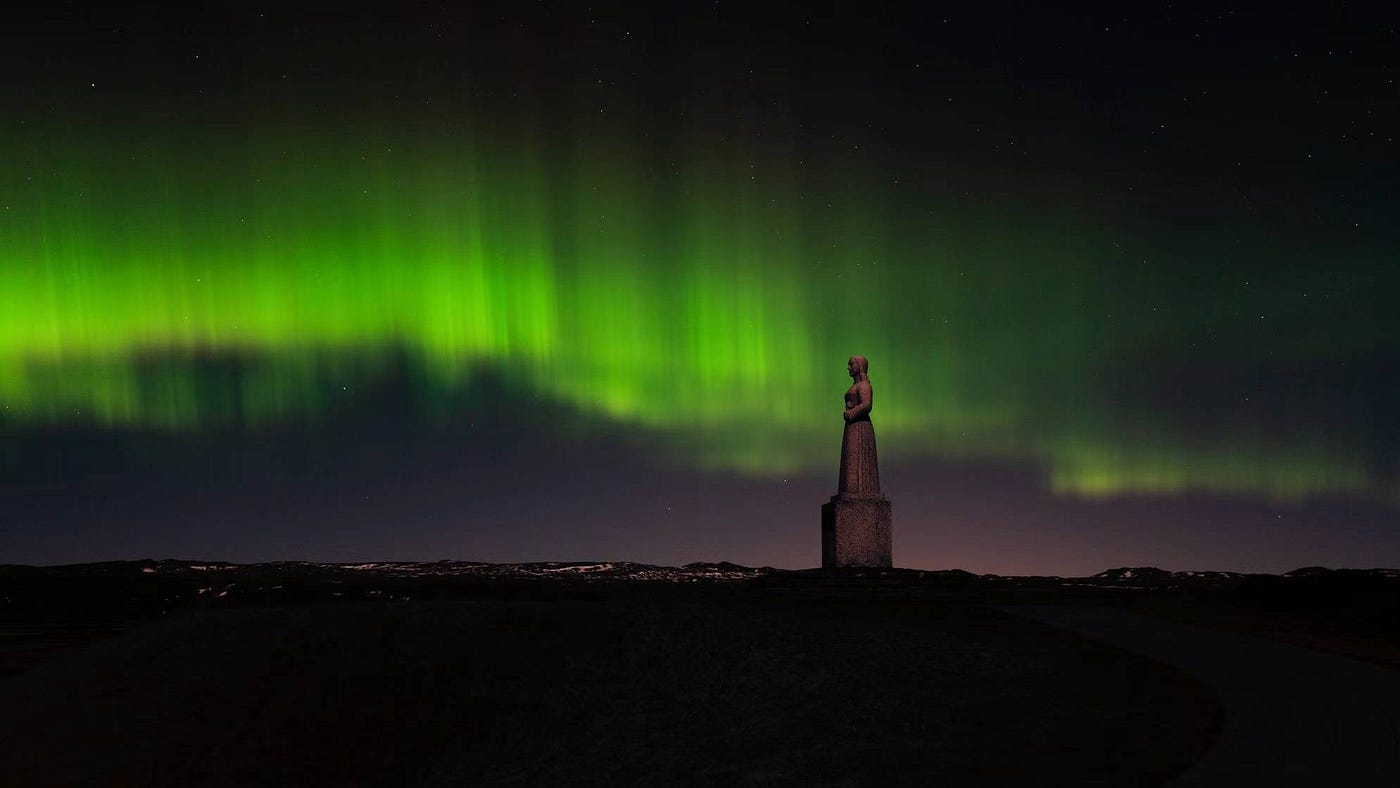
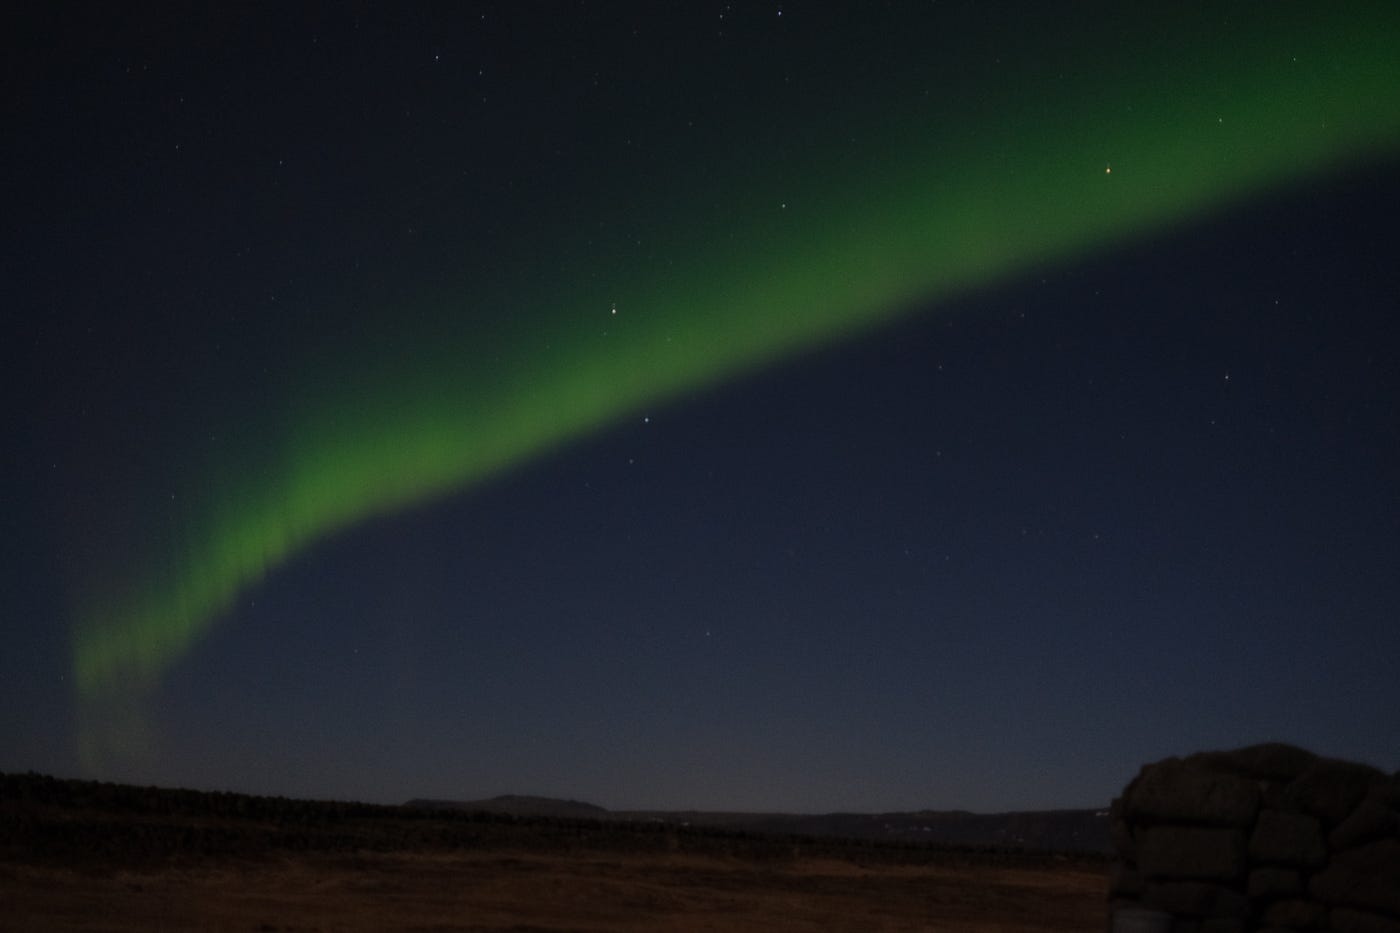
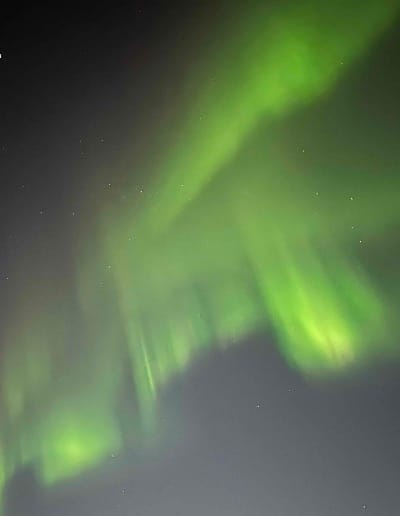
Seeing the Northern Lights is many people’s dream, but how do you capture them in a photograph? We have prepared some tips for your Northern Lights tours, whether you are shooting with a digital camera or just a mobile phone — complete with my own Northern Lights photo collection from Iceland, which demonstrates different results.
Use a tripod
If you have a tripod, make sure to bring it, as photographing the Northern Lights requires long exposure, and tripods are the best way to keep cameras or mobiles still during the long exposure time.
If you don’t have a tripod, you can try:
- Keeping your hands and arms really, really still for about 10 seconds;
- Finding a surface where you can support and stabilise your device, such as a table or rock.
With a digital camera
- If memory allows, it is best to shoot in RAW, which means it captures all the details of your photos for post-production. Bring a spare memory card if you can.
- Aperture: Use an aperture of 2.8 or the widest in your lens
- ISO: Adjust the ISO to 3200 to 8000 — this setting can vary depending on the camera and the brightness of the moon and other surrounding light sources. If the moon/surrounding is bright, lower the ISO accordingly.
- Shutter speed:
- For faint and static aurora: 8–12 seconds
- Vibrant aurora: 3–8 seconds
- Very strong: 0.5–3 seconds
- White balance: a starting point could be around 3500k, test your result and adjust WB accordingly.
- Focus manually on distant light or a star
- Experiment and enjoy the light show! Remember to dress warm!
Using a mobile phone
- For iPhone 11 Pro and newer versions with night mode, adjust your exposure time to max (10s)
- Try to keep your phone still during this period or use a tripod if you have one.
- Set it to manual focus and lock your focus to infinity. Adjust manually until the aurora appears sharp
- No Flash
Other tips
- Keep batteries in your pocket before shooting, or bring a spare one, as batteries drain more quickly in colder climates.
- Dress warmly — it can be very cold standing still in the Icelandic nights, especially since many trips will take you out of city centres. Bring a pair of gloves!
- Avoid sudden temperature changes to the camera. When returning to the vehicle, keep the camera in your bag for a short while before taking it out to avoid internal condensation.
Above all, we hope you’ll enjoy your upcoming Northern Lights trip. If you’ve not booked one, check out our curated Northern Lights tours departing from Reykjavik!